N•ear - The Acoustic Tube Killer
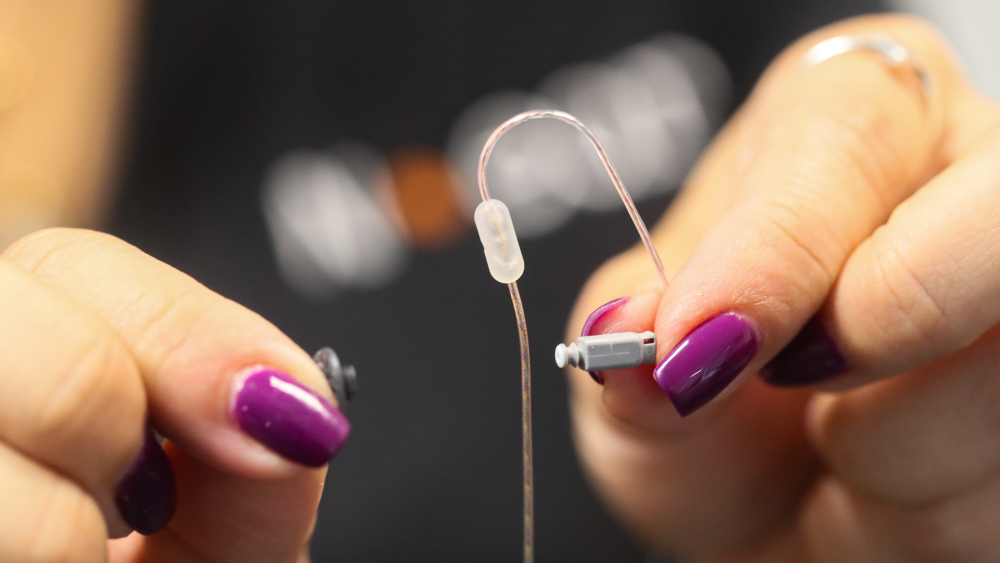
When it comes to discreet, lightweight, and fatigue-reducing in-ear communications, public safety and security professionals count on N-ear earpieces. N•ear’s patented micro-speakers – compact and lightweight – securely deploy within ear canals, enabling extended wear time.
Enhancing discretion, N•ear incorporates ultra-thin audio cables shielded by 220-strand Kevlar fiber, replacing the traditional acoustic tube earpiece. Invisible to the naked eye, N•ear reigns supreme in stealthy, sustained audio comms available in three variants:
- The N•ear 360 Original (the original model of this earpiece).
- The N•ear 360 Flexo (with a more shaped ear bend to enhance fit).
- The N•ear 360 Flexo Dynamic (with a larger dynamic range of audio).
Battling Earwax & Poor Audio From Your Earpiece
Yet, in the face of challenges, N•ear earpieces battle an inevitable adversary: earwax. A culprit that can muffle, dampen or distort audio when it invades the N-ear earpiece filter, creating an underwater echo effect. This disruption jeopardizes the clarity vital for intercepted transmissions, making every decibel count. Raising volume isn’t the solution, as it puts micro-speakers on the brink of overload.
Combatting this predicament head-on, N•ear arms users with an Ear Wax Filter Kit – equipped with spare filters and essential tools. This arsenal ensures pristine sound quality and uninterrupted operations. Discover the essential maintenance wisdom to preserve your N•ear earpieces’ optimal performance, ensuring unwavering safety and success alongside your fellow agents.
Steps to Battle Earwax


Step 1 - Remove the eartip
To get at the filter inside your N•ear earpiece, you must first gently remove the eartip that goes into your ear. Set it aside for re-use after removal. If need be, replace the old eartip with a new one from N•ear.
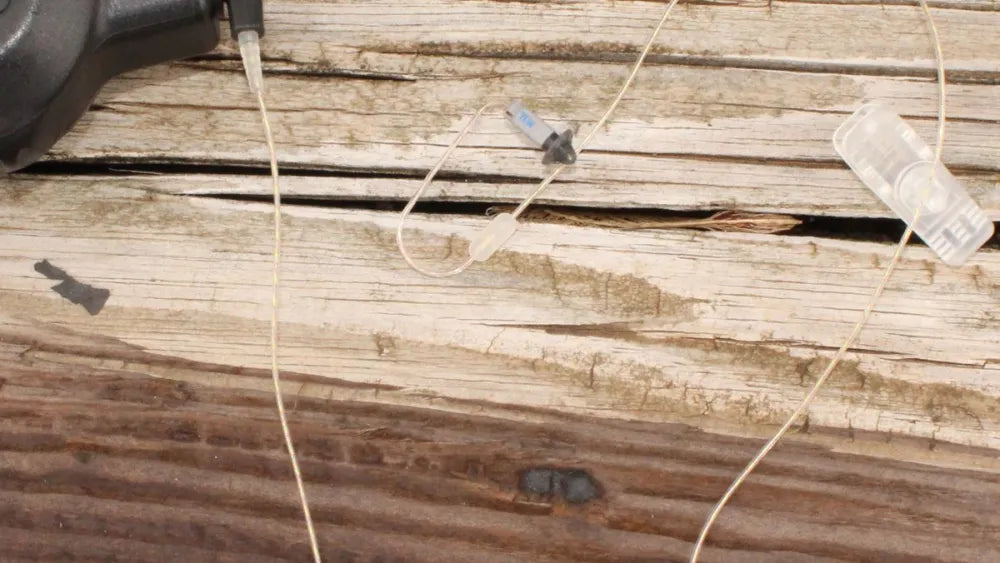
Step 2 - Use the changing kit
It is now time to open up the changing kit from N•ear, so that you can safely remove the filter from the earpiece.
Using the applicator from the changing kit, connect to the filter inside the earpiece and pull it out. You can then dispose of the old filter, with or without looking at the gunky earwax that is clogging up its air channel. The choice is yours.
Step 3 - Remove and Replace the Filter
Once the old filter has been removed, you can use the applicator to connect to the new filter. Slide it into the earpiece into the space where the old filter was removed from. Voila! You’re done!
Step 4 - Put the eartip on
The final step in servicing your N•ear earpiece is to put the eartip back in place. And you’re done!
Earwax Is Funny, Yet Deadly To Equipment
While it might elicit a chuckle or two, the importance of pristine ear filters within N-ear earpieces cannot be undermined. This seemingly meticulous attention holds the very core of operational efficacy.
Contemplate this: You wouldn’t stake your life on an uncleaned, unserviced firearm, would you? Just as you wouldn’t engage in a high-octane pursuit in a patrol car surpassing 100,000 miles with balding tires.
In law enforcement and security, these choices are ones of life or death. Likewise, employing N•ear earpieces in the field hinges on the same tenet. In a critical field where crystal-clear communication is the divide between detecting an imminent threat or being blindsided, the integrity of clean N•ear filters is paramount. Becoming a casualty of earwax accumulation is not an option.
This is why N•ear leaves no stone unturned in arming users with the tools for pristine upkeep.
Claim Your Maintenance Offer Today!
Get 10% Off your next earwax filters with code "WAX10" at checkout.